Texture Removal
Whether you're updating a single room or remodeling your entire home, here’s how TrueFinish Drywall handles texture removal from start to finish:
Our Texture Removal Process
Inspect & Assess
Identify the texture type and check for damage or repairs.Prepare the Area
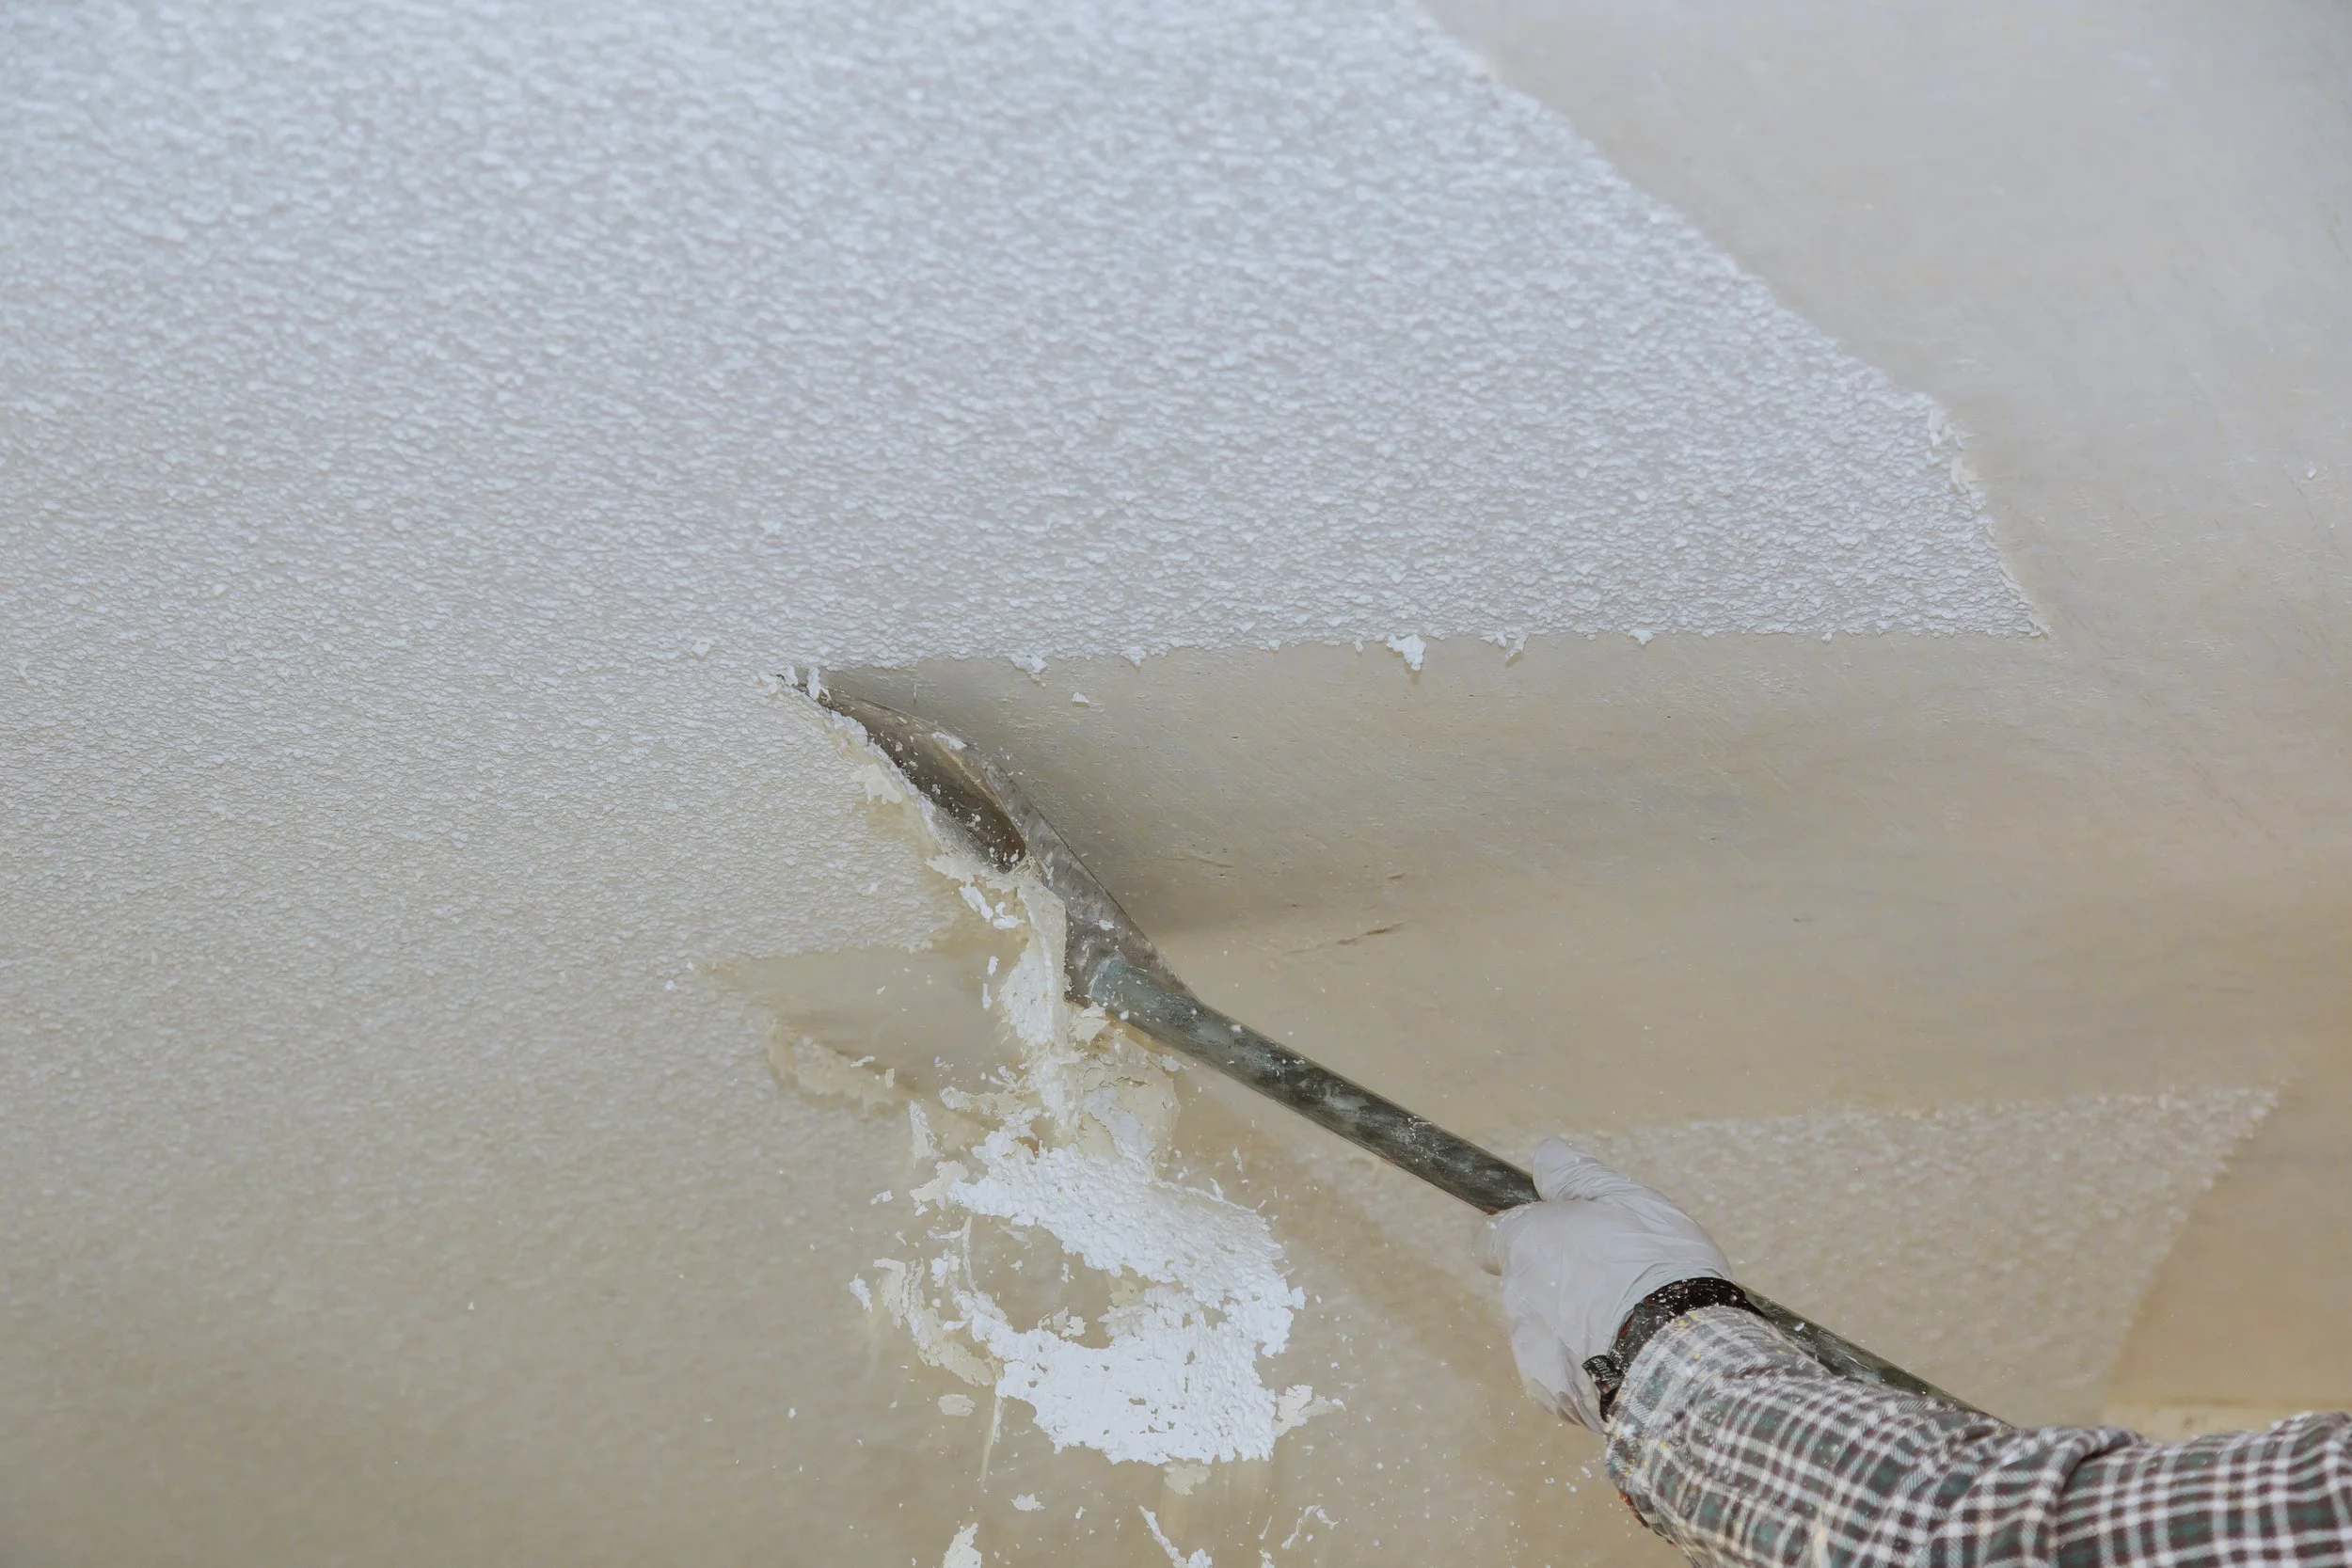
Client should remove all furnishings from the areas of removal. We cover the floors, mask off walls/ceilings and vents as needed. Turn off HVAC to prevent dust spread.Remove Texture
Scrape off the texture carefully. For painted or tough textures, sanding or skim-coating may be used.Repair & Smooth
Patch any damage and apply joint compound to smooth the surface. Let each layer dry.Sand Smooth
Sand the surface for a clean, even finish while controlling dust.Optional Finish
Add new texture if desired, then prime and paint for a fresh look.Clean Up
Remove coverings and vacuum as needed. Dispose of debris properly.
Fresh surfaces. Clean lines. No stress.
Let TrueFinish Drywall handle the hard part—so you don’t have to.